
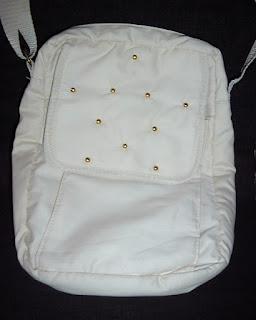
I decorated this bag with help from Cricut Design Studio by creating a template here is a picture of my finished project which I used a JML Gem Styler on. To download the cut file for the template click here.
If you would like to leave feedback but do not have a blogger account please click here to go to the topic on the cricut message board.
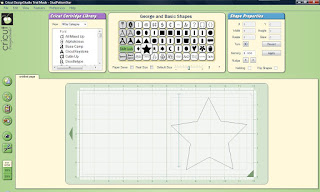
Then set the size to 1 inch and chose a circle.
 Then make it smaller to a size you feel happy with and move into place so that it plus sign that marks the centre is lined up with the point of the star.
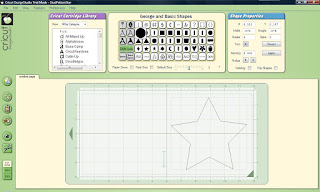
 Continue with this till all the points are marked with circles.

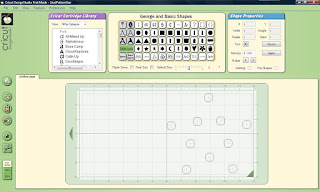
Now you need to get rid of the star. So click on it and delete it. You should now be let with something that is similar to the image bellow.
It is now ready to cut out. Here is an image of my stencil, which I cut out of plastic on the multi cut feature.

Then place the template over your project and use it as a guide of where to put your brads.

No comments:
Post a Comment